Easy French Macaron Recipe – Perfect Sweet Treats
French Macaron Recipe: Unlocking the secrets to these delicate, cloud-like cookies has always felt like mastering a culinary art form. For me, the allure of the French macaron is undeniable. There’s a certain magic in their perfectly smooth shells, that satisfyingly crisp exterior yielding to a delightfully chewy center, all sandwiching a luscious, flavorful filling. It’s this symphony of textures and tastes that makes the French macaron a showstopper, whether presented as a special occasion treat or simply enjoyed with a cup of tea. Many are intimidated by their reputation for being finicky, but I’m here to tell you that with the right guidance and a little patience, you too can create these exquisite French macarons in your own kitchen. Let’s dive into the wonderful world of this iconic confection!
French Macaron Recipe
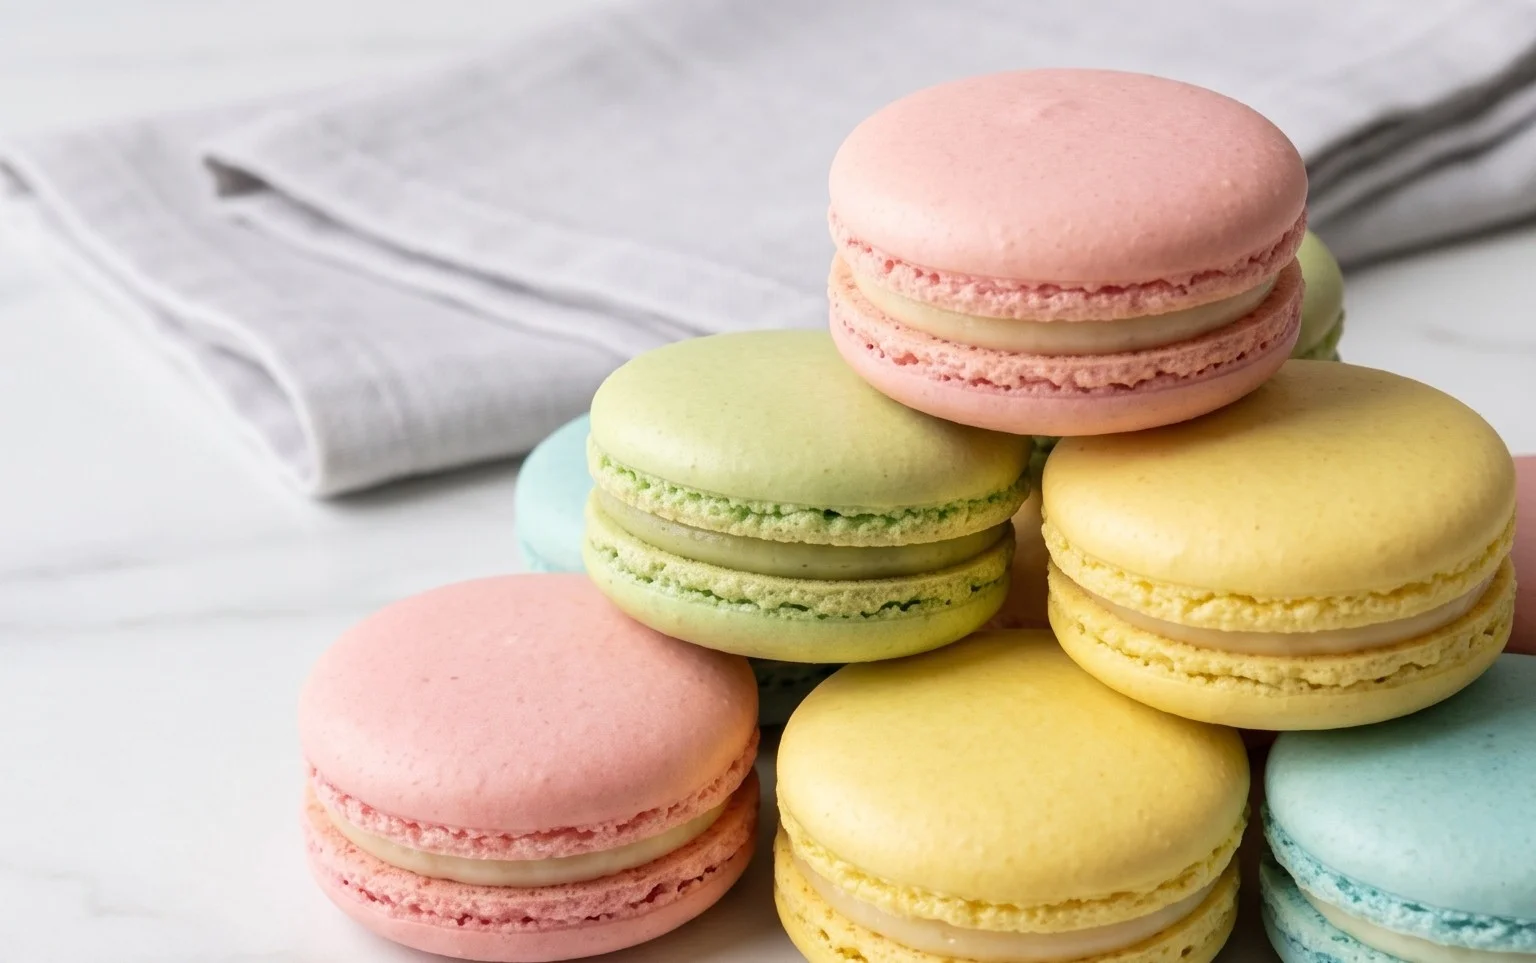
French macarons, those delicate, colorful, and utterly delightful meringue-based cookies sandwiched with a creamy filling, are a true test of patience and precision, but oh-so-worth it when you get that perfect crisp shell and chewy interior. They might seem intimidating, but with careful attention to detail and a bit of practice, you can achieve macaron magic in your own kitchen. This recipe will guide you through the process, from preparing your ingredients to achieving those coveted “feet” – the ruffled edges at the base of the macaron.
Ingredients:
Instructions:
1. Preparing the Dry Ingredients and Meringue Base
The foundation of a successful macaron lies in the perfect dry ingredient mixture and a stable meringue. First, meticulously sift your almond flour and powdered sugar together. This is a crucial step for achieving smooth macaron shells. I like to sift them at least twice, and sometimes even three times, through a fine-mesh sieve. If you don’t have super-fine almond flour, you can pulse regular almond flour in a food processor for a few seconds to break it down further, but be careful not to over-process it into almond butter. After sifting, weigh out precisely 150 grams. Then, add the 1/4 teaspoon of salt to this dry mixture and whisk it gently to combine. Set this aside.
Next, we prepare the meringue. Ensure your egg whites are at room temperature; this helps them whip up to a better volume and stability. You can leave them out on the counter for about 30 minutes to an hour, or gently warm them by placing them in a bowl over a pot of barely simmering water (a double boiler) for a few minutes, stirring constantly, until they reach about 100°F (38°C). Be careful not to cook them! Once at room temperature, pour the egg whites into a clean, dry, and grease-free bowl. Begin extract whipping them on medium speed with an electric mixer. Once they become foamy, gradually start adding the granulated sugar, a tablespoon at a time, while the mixer is still running. Continue whipping on medium-high speed until you achieve stiff, glossy peaks. This means when you lift the whisk, the meringue should stand straight up and hold its shape without drooping. If you’ve added your food coloring, now is the time to incorporate it. Add the drops of liquid-gel food coloring and vanilla extract and continue whipping for another minute or so to ensure the color is evenly distributed and the meringue is fully stabilized. The meringue should be very firm and glossy.
2. Macaronage: The Art of Folding
This is perhaps the most critical and misunderstood stage of macaron making: the macaronage. It’s the process of folding the dry ingredients into the meringue. This stage determines the consistency of your batter, which directly impacts the texture and appearance of your macarons. Add about a third of your sifted dry ingredients to the meringue. Using a spatula, gently fold them in. Don’t overmix at this stage; you’re just incorporating the ingredients. Repeat this process with the remaining dry ingredients, adding them in two more additions.
The key here is to achieve a batter that flows like “lava” or “ribbon.” To test this, lift your spatula and let the batter fall back into the bowl. It should fall in a continuous ribbon and slowly melt back into itself, creating a figure-eight pattern, within about 20-30 seconds. If the batter is too stiff, it will break when it falls. If it’s too runny, it will spread too much and won’t form feet. You might need to gently fold a little longer if it’s too thick, or very carefully fold a tiny bit more if it’s too thin, but err on the side of caution. Overmixing will lead to flat, spread-out macarons with no feet.
3. Piping and Resting
Prepare your baking sheets by lining them with parchment paper or silicone baking mats. If using parchment, you can draw circles on the underside of the parchment to act as guides, about 1.5 inches in diameter, spacing them about an inch apart. Or, you can use a macaron template. Fit a piping bag with a round tip (about 1/2 inch) and fill it with your macaron batter. Hold the piping bag perpendicular to the baking sheet and pipe small rounds, filling each drawn circle. Stop piping when you reach the edge of the circle. As you pipe, try to keep the tip of the bag slightly above the batter.
Once all your macarons are piped, it’s time to get rid of air bubbles, which can cause cracking. Firmly tap the baking sheets on your countertop several times. You should see any remaining air bubbles rise to the surface and pop. Use a toothpick to gently pop any stubborn bubbles. Now comes another crucial waiting game: resting the macarons. Let the piped macarons sit at room temperature for at least 30 minutes to an hour, or until they have developed a skin. You’ll know they’re ready when you can gently touch the surface of a macaron and it doesn’t stick to your finger. This skin is essential for the development of those lovely “feet” during baking.
4. Baking to Perfection
Preheat your oven to 300°F (150°C). The ideal oven temperature is crucial for macarons. Too hot, and they’ll brown too quickly or crack; too cool, and they won’t set properly. It’s highly recommended to use an oven thermometer to ensure accurate temperature. Carefully slide one baking sheet into the preheated oven at a time. Bake for 12-15 minutes. The baking time can vary depending on your oven. You’ll know they’re done when the edges are set, and the tops feel firm to the touch. You can gently try to wiggle one macaron – if the foot is set and it doesn’t slide around on its shell, it’s likely ready.
During the last few minutes of baking, you might notice the feet starting to form. It’s important not to overbake them, as this will make them dry and crum extractbly. Once baked, remove the baking sheet from the oven and let the macarons cool on the sheet for about 5-10 minutes before carefully transferring them to a wire rack to cool completely. They should release easily from the parchment or mat once fully cooled. If they stick, they might need a little more baking time or are still too warm.
5. Assembling and Maturing
Once all your macaron shells are completely cooled, it’s time to fill them! Find matching shells (similar in size) and pair them up. Pipe or spread your chosen filling – in this case, vanilla buttercream frosting – onto the flat side of one macaron shell. Then, gently sandwich it with its matching shell, pressing lightly to distribute the filling.
The magic of macarons truly happens after they’ve been assembled and allowed to “mature” in the refrigerator. Place your filled macarons in an airtight container and refrigerate them for at least 12-24 hours. This resting period allows the moisture from the filling to soften the shells slightly, creating that characteristic chewy interior and a delightful blend of textures and flavors. After their chilling period, let them sit at room temperature for about 15-20 minutes before serving. Enjoy your beautifully crafted French macarons!
*Notes on Sifting Almond Flour: Measuring almond flour after sifting is essential because sifting can significantly reduce the volume and weight of the flour. You want exactly 150 grams of the finely sifted product.
**Notes on Food Coloring: Liquid-gel food coloring is recommended as it’s concentrated and won’t add too much extra liquid to your batter, which can affect the consistency. Start with a few drops and add more until you achieve your desired shade. Be mindful that the color will intensify slightly as the macarons bake.
Conclusion:
I hope you’ve enjoyed this journey into creating your very own French macaron! This recipe offers a fantastic way to impress your friends and family with these delicate, meringue-based cookies. The beauty of macarons lies not only in their elegant appearance but also in their wonderfully crisp shell yielding to a chewy interior. The adaptability of this French macaron recipe means you can endlessly experiment with flavors and fillings, making each batch a unique creation.
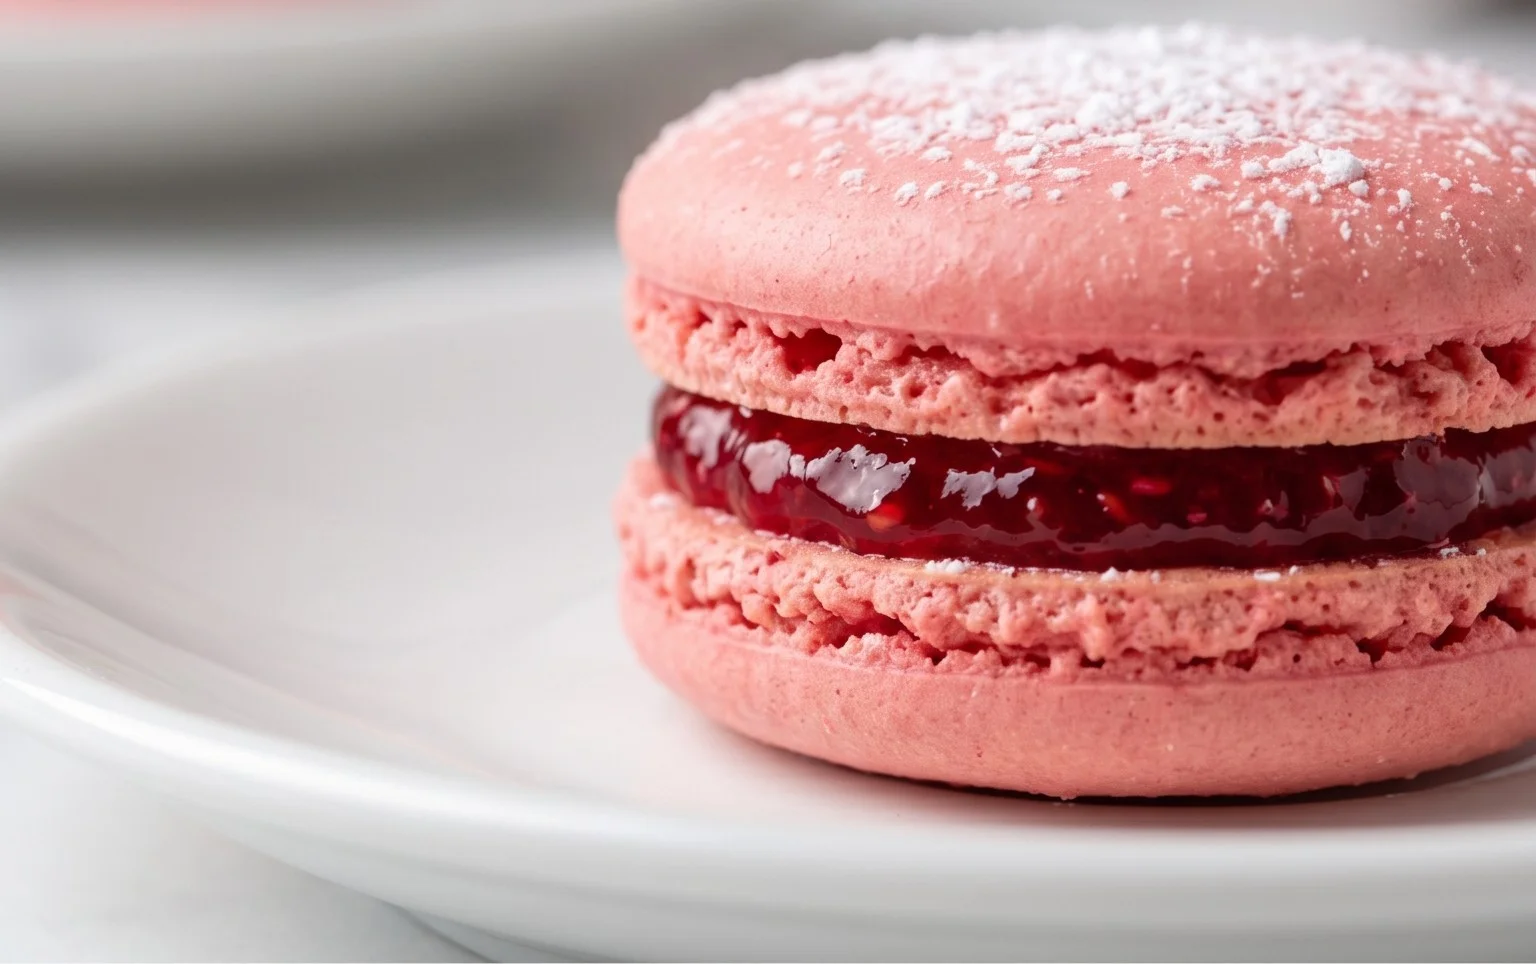
Serve your freshly made macarons as a sophisticated dessert at your next dinner party, accompany them with your favorite coffee or tea, or present them as a charming edible gift. Don’t be afraid to explore beyond the classic vanilla or chocolate; consider adding a touch of lavender to your meringue, or a vibrant raspberry coulis as a filling. The possibilities are truly endless!
I truly encourage you to give this French macaron recipe a try. While they might seem intimidating, with patience and practice, you’ll be whipping up batches of these delightful treats in no time. Remember, every baker has a few imperfect macarons in their journey – it’s all part of the learning process!
Frequently Asked Questions:
Why are my macarons cracking on top?
Cracking is often due to over-beating the meringue (making it too stiff), or if the oven temperature is too high. Ensure your meringue is glossy and forms stiff peaks but isn’t dry. Let the macarons rest and form a skin before baking; this helps them rise properly and prevents cracks.
What is the best way to store French macarons?
For the best texture, store your French macarons in an airtight container in the refrigerator for up to 3-4 days. You can also freeze them! Place them in an airtight container with parchment paper between layers and freeze for up to a month. Thaw them in the refrigerator overnight before enjoying.
French Macaron Recipe
A classic French macaron recipe with a delicate meringue shell and your choice of filling, perfect for any occasion.
Ingredients
-
150 grams sifted super-fine almond flour
-
180 grams powdered sugar
-
1/4 teaspoon salt
-
120 grams large egg whites
-
60 grams granulated sugar
-
4 drops liquid-gel food coloring
-
1 teaspoon pure vanilla extract
-
Vanilla Buttercream Frosting or your choice of filling
Instructions
-
Step 1
Whisk together the sifted almond flour, powdered sugar, and salt in a bowl. Set aside. -
Step 2
In a separate bowl, beat the egg whites until foamy. Gradually add the granulated sugar, continuing to beat until stiff, glossy peaks form. Add the food coloring and vanilla extract, and beat until just combined. -
Step 3
Gently fold the almond flour mixture into the meringue in two additions until a smooth, lava-like batter forms. Be careful not to overmix. -
Step 4
Transfer the batter to a piping bag fitted with a round tip. Pipe small, uniform circles onto baking sheets lined with parchment paper or silicone mats. -
Step 5
Tap the baking sheets firmly on the counter to release any air bubbles. Let the macarons sit at room temperature for 30-60 minutes, or until a skin has formed on top. -
Step 6
Preheat your oven to 300°F (150°C). Bake for 12-15 minutes, or until the macarons have developed ‘feet’ and are firm to the touch. -
Step 7
Allow the macarons to cool completely on the baking sheets before removing them. Once cooled, pair matching shells and fill with your desired frosting or filling.
Important Information
Nutrition Facts (Per Serving)
It is important to consider this information as approximate and not to use it as definitive health advice.
Allergy Information
Please check ingredients for potential allergens and consult a health professional if in doubt.