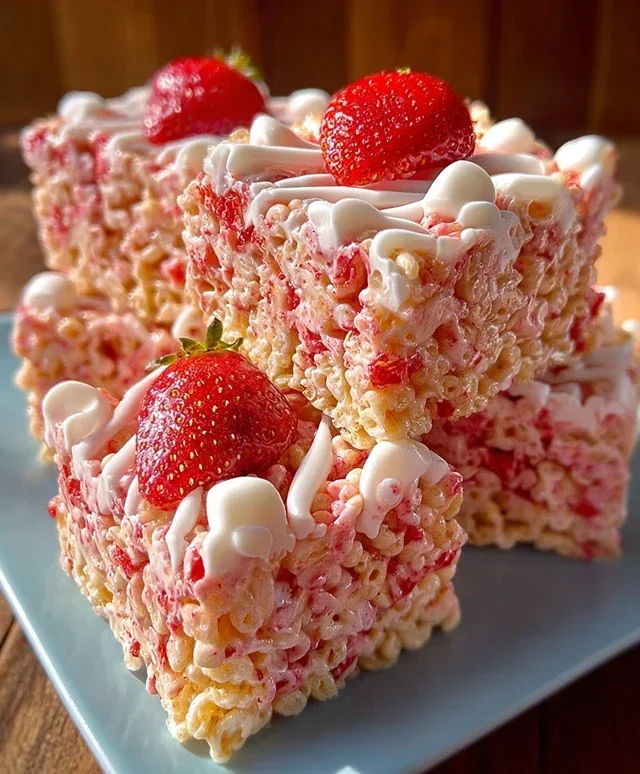
Easter Rice Krispie Treats-Festive & Easy Dessert
Easter Rice Krispie Treats are more than just a nostalgic childhood favorite; they’re a blank canvas for springtime joy! Who can resist that perfect balance of gooey marshmallow, crispy cereal, and a hint of buttery sweetness? For me, these simple squares are synonymous with Easter celebrations, bringin extractg smiles to faces young and old. What makes these Easter Rice Krispie Treats so special is their incredible versatility. They’re the perfect base for transforming into festive bunnies, colorful speckled eggs, or even vibrant floral designs. They require minimal effort but deliver maximum impact, making them an ideal activity to share with family and friends during the Easter break. Get ready to hop into the kitchen and create some edible magic!
Why We Adore Them
Simple, Sweet, and Hugely Customizable
Easter Rice Krispie Treats
Easter is a time for joy, family, and of course, delicious treats! While the classic Rice Krispie treat is a beloved favorite year-round, we’re giving it a festive springtime makeover with these delightful Easter Rice Krispie Treats. These vibrant, sweet, and slightly chewy squares are incredibly easy to make, making them perfect for little hands to help with or for a quick, impressive dessert for your Easter celebration. We’ll be transforming the ordinary into the extraordinary by infusing them with cheerful colors and festive decorations. Get ready to hop into some baking fun!
Ingredients:
Creating the Easter Base
Our Easter Rice Krispie Treats start with the classic, comforting foundation of perfectly melted marshmallows and crisp cereal. The magic happens as we introduce pops of springtime color and a delightful glaze that truly makes these treats special.
First things first, let’s get our marshmallow mixture ready. In a large, microwave-safe bowl, combine the 16 ounces of marshmallows with 2 tablespoons of unsalted butter. If you’re using a stovetop method (which is also perfectly fine!), you can melt these together in a large saucepan over low heat, stirring constantly. For the microwave, heat on high in 30-second intervals, stirring after each, until the marshmallows are completely melted and smooth. This usually takes about 1.5 to 2 minutes total in the microwave. Be patient and don’t rush this step; we want a beautifully smooth, gooey base for our cereal. Once melted and smooth, remove from heat.
Now, it’s time to incorporate the star of the show: the Rice Krispies cereal! Gently add the 7 cups of Rice Krispies cereal to the melted marshmallow mixture. Using a sturdy spatula or wooden spoon, carefully fold the cereal into the marshmallows until it’s evenly coated. The key here is to be gentle; we don’t want to crush the cereal too much, as we want to retain that signature crispiness. Ensure every crispy bit is coated in that sweet marshmallow goodness. This mixture will be a little sticky, so working quickly is helpful, but don’t let the stickiness deter you – it’s part of the charm!
Prepare your pan for the treats. Lightly grease a 9×13 inch baking pan with butter or cooking spray, or line it with parchment paper, leaving some overhang on the sides to help lift the treats out later. This is a crucial step to prevent your delicious creations from sticking. We want them to be easily removable for decorating. Press the Rice Krispie mixture evenly into the prepared pan. You can use a greased spatula or your hands (lightly greased with butter or water) to gently press the mixture down. Again, be gentle to maintain the cereal’s texture. Don’t press too hard, or your treats might become dense.
While the base cools slightly, let’s prepare our vibrant green glaze. In a medium bowl, whisk together the ½ cup of unsalted butter (softened), 3 cups of powdered sugar, ¼ cup of milk, and 1 teaspoon of vanilla extract. Start with 3 cups of powdered sugar and add more, a tablespoon at a time, until you reach your desired glaze consistency. You’re aiming for a thick but pourable glaze. Add a few drops of green food coloring to achieve a beautiful spring green hue. Stir vigorously until the glaze is smooth and well combined. The richer the green, the more festive your treats will look!
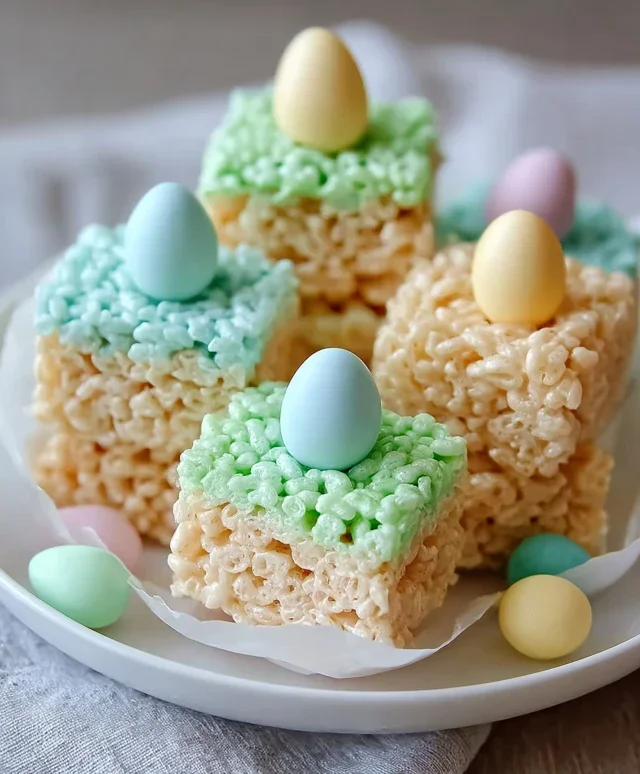
Once the Rice Krispie treat base has cooled for about 10-15 minutes and is no longer piping hot but still slightly warm, it’s time to bring in the Easter magic! Drizzle the prepared green glaze generously over the top of the Rice Krispie treats in the pan. Use a spoon or offset spatula to spread it evenly, creating a smooth, grassy-like surface. Immediately, while the glaze is still wet, artfully arrange your Easter egg candies (mini chocolate eggs or jelly beans) on top of the green glaze. Press them down gently so they adhere to the glaze. Get creative with your arrangements – make little clusters of eggs, patterns, or just scatter them for a playful look. Let the glaze set completely, which usually takes about 30-60 minutes at room temperature, or you can speed it up by popping the pan into the refrigerator for about 15-20 minutes.
Once the glaze has set and the treats have cooled completely, use the parchment paper overhang to lift the entire slab out of the pan. Place it on a cutting board and cut into squares or rectangles. These Easter Rice Krispie Treats are sure to be a hit with everyone, from the youngest Easter egg hunters to the grown-ups! Enjoy the sweet taste of spring!
Conclusion:
I hope you’ve enjoyed learning how to make these delightful Easter Rice Krispie Treats! These are truly a fantastic treat because they’re incredibly easy to whip up, requiring minimal ingredients and no baking. They offer that perfect chewy, sweet texture that everyone loves, and the festive Easter theme makes them a showstopper for any holiday gathering. They’re also wonderfully versatile, allowing for so much creativity!
For serving, these treats are perfect on their own, but they also make a beautiful addition to an Easter dessert table alongside cakes and cookies. You could also package them up in cute cellophane bags tied with ribbon for a lovely edible gift for friends and family. When it comes to variations, the sky’s the limit! Try adding pastel-colored sprinkles, edible glitter, or even a drizzle of white chocolate for an extra touch of elegance. You can also experiment with different food colorings in the marshmallow mixture to create a rainbow effect. I truly encourage you to give this Easter Rice Krispie Treats recipe a try; it’s guaranteed to bring smiles to everyone’s faces!
Frequently Asked Questions:
How can I make the treats firmer if they seem too gooey?
If your treats are a little too gooey, you might not have pressed the mixture firmly enough into the pan, or you may have cooked the marshmallow mixture slightly too long. Ensure you press down firmly and evenly while the mixture is still warm. Allowing them to cool completely in the pan will also help them set.
Can I make these ahead of time for an Easter party?
Absolutely! These Easter Rice Krispie Treats are perfect for making ahead. Once they’ve cooled and set completely, you can store them in an airtight container at room temperature for up to 2-3 days. This makes them a stress-free addition to your party planning!
What are some fun decorating ideas beyond sprinkles?
Beyond sprinkles, consider using pastel-colored candy melts to create patterns or drizzle over the top once the treats have cooled. You can also press edible flowers or small Easter-themed candies into the tops before they set. For a chocolatey twist, dip the edges in melted chocolate!
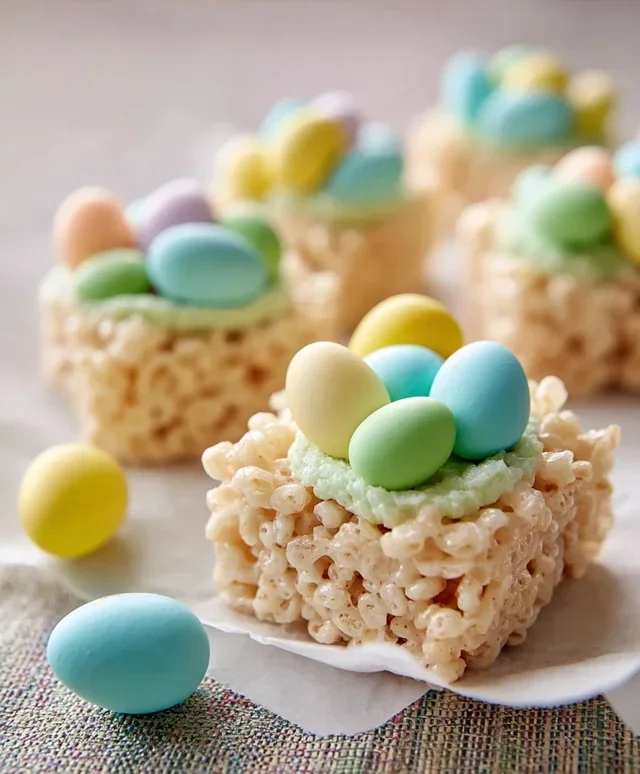
Easter Rice Krispie Treats
Festive and fun Rice Krispie treats, colored green and decorated with Easter candies for a delightful springtime treat.
Ingredients
-
16 ounces marshmallows
-
7 cups Rice Krispies cereal
-
3 tablespoons unsalted butter
-
3-4 cups powdered sugar
-
¼ cup milk
-
1 teaspoon vanilla extract
-
Green food coloring
-
Easter egg candies (mini chocolate eggs or jelly beans)
Instructions
-
Step 1
Grease a 9×13 inch pan. -
Step 2
In a large pot, melt 3 tablespoons of unsalted butter over low heat. Add marshmallows and stir until completely melted. -
Step 3
Remove from heat. Add 7 cups of Rice Krispies cereal and stir until well coated. -
Step 4
In a separate bowl, whisk together powdered sugar, ¼ cup milk, 1 teaspoon vanilla extract, and a few drops of green food coloring until smooth and pourable. Adjust consistency with more milk or powdered sugar as needed. -
Step 5
Pour the green frosting over the Rice Krispie mixture and gently fold until evenly colored. Alternatively, you can mix the green food coloring into the melted marshmallows before adding the cereal for a marbled effect. -
Step 6
Press the mixture into the prepared pan, smoothing the top. Immediately sprinkle with Easter egg candies and gently press them in. -
Step 7
Let cool completely before cutting into squares.
Important Information
Nutrition Facts (Per Serving)
It is important to consider this information as approximate and not to use it as definitive health advice.
Allergy Information
Please check ingredients for potential allergens and consult a health professional if in doubt.