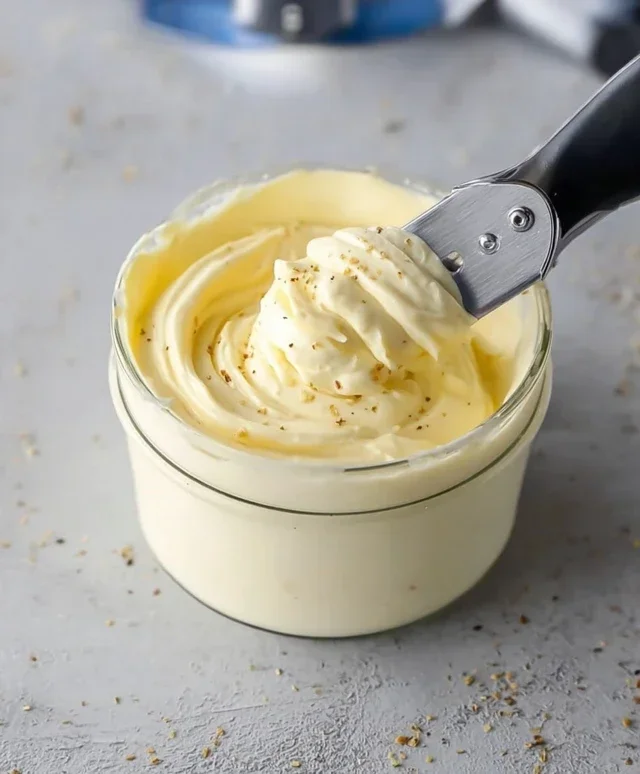
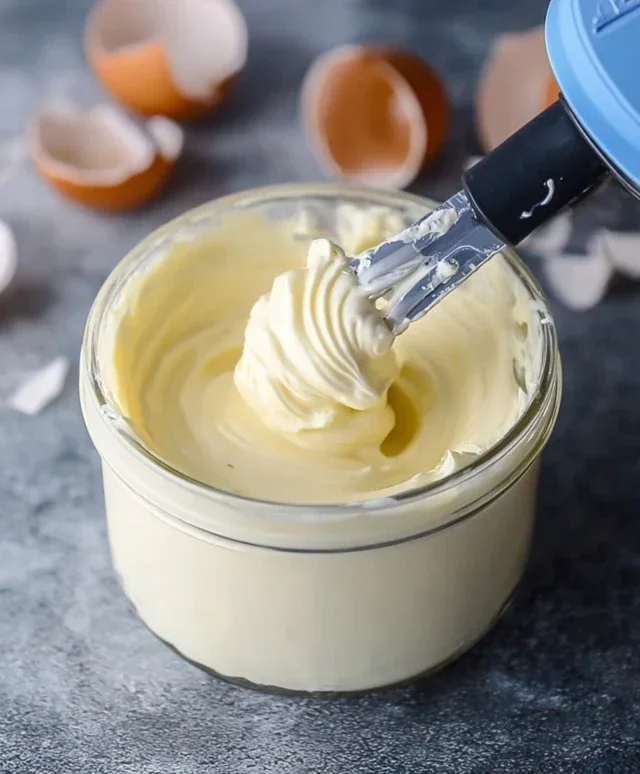
Easy Homemade Mayo- Totally Worth The Effort
Making mayo from scratch is easy and totally worth it. I used to be one of those people who swore by the jarred stuff, always thinking that homemade mayonnaise was some kind of culinary Everest. But let me tell you, my friends, I was gloriously, deliciously wrong! The revelation that I could whip up a batch of creamy, dreamy mayo with just a few pantry staples in mere minutes completely changed my sandwich game, my salad dressings, and my dipping sauce game. There’s something inherently satisfying, almost magical, about transforming simple ingredients into that velvety emulsion we all know and love. It’s that bright, fresh flavor, unadulterated by preservatives or artificial anything, that truly sets homemade mayo apart. Trust me, once you’ve tasted the difference, you’ll never go back.
Why You Should Make Your Own Mayo
The Creamy, Dreamy Difference
Making Mayo From Scratch Is Easy And Totally Worth It
Forget that jarred stuff! Making your own mayonnaise from scratch might sound intimidating, but I’m here to tell you it’s surprisingly simple and the results are so much better. The fresh, creamy, slightly tangy flavor of homemade mayo elevates everything from a simple BLT to a delicate potato salad. Plus, you have complete control over the ingredients. Ready to ditch the store-bought and impress yourself (and anyone lucky enough to share your creations)? Let’s get started!
Ingredients:
The “Why” Behind the Ingredients
Before we dive into the how, let’s quickly touch on why these specific ingredients are key. Room temperature egg yolks are crucial for emulsification. Cold yolks can cause the oil to seize up, resulting in a broken sauce. Dijon mustard acts as an emulsifier itself, helping to bind the oil and egg yolks, and also adds a lovely depth of flavor. Lemon juice or vinegar provides that essential tangin extractess that cuts through the richness of the oil. Salt enhances all the flavors, and white pepper offers a gentle heat without the speckles you might get from black pepper. As for the oil, a neutral oil is best for a classic mayonnaise base. You can then add a smaller amount of a flavored oil like extra virgin extract olive oil if you desire a more complex taste, but be mindful that too much olive oil can impart a bitter flavor.
Phase 1: The Flavor Base
This is where we build the foundation of our delicious mayonnaise.
Phase 2: The Emulsification – The Magic Happens!
This is the most critical part, and it’s where the magic of mayonnaise truly unfolds. Patience and a steady hand are your best friends here.
Phase 3: Finishing Touches and Storage
You’re almost there! A few final adjustments and your homemade mayo will be ready to enjoy.
Conclusion:
See? Making mayo from scratch isn’t the intimidating culinary feat it might seem. In fact, it’s remarkably easy and, as you’ll quickly discover, totally worth it! The difference in flavor and texture compared to store-bought is astounding. You’re left with a rich, creamy, and wonderfully fresh condiment that elevates everything from simple sandwiches to elegant dips. The satisfaction of creating this kitchen staple yourself is immense, and once you’ve mastered this basic recipe, a whole world of flavor possibilities opens up.
Think about the possibilities: smear it generously on a BLT, use it as the base for a potato salad, whisk it into a creamy coleslaw, or even mix in some herbs and spices for a gourmet aioli. This homemade mayo is a game-changer. Don’t be afraid to experiment with different oils for subtle flavor nuances, or add a pinch of smoked paprika for a Spanish flair. I truly encourage you to give this recipe a try. You’ll be amazed at how simple and rewarding it is, and you’ll wonder why you ever bought it pre-made!
Frequently Asked Questions:
Why is my homemade mayonnaise runny?
A runny mayonnaise usually indicates an emulsion failure. This often happens when the oil is added too quickly, especially at the begin extractning of the process. Make sure to add the oil in a very slow, thin, and steady stream while continuously whisking or blending. If it breaks, don’t despair! You can often salvage it by starting with a fresh egg yolk in a clean bowl and slowly whisking the broken mixture into it, drop by drop, just like you did initially.
Can I use a different oil besides neutral vegetable oil?
Absolutely! While a neutral oil like canola or sunflower oil is standard for a classic flavor, you can experiment with others. Using olive oil will impart a distinct olive flavor, which can be wonderful for Mediterranean-inspired dishes. Avocado oil offers a subtle, buttery richness. Just be mindful that stronger-flavored oils will significantly alter the taste of your final mayonnaise.
How long does homemade mayonnaise last?
Because it contains raw egg, homemade mayonnaise has a shorter shelf life than commercially produced versions. Properly stored in an airtight container in the refrigerator, it typically lasts for about 5 to 7 days. Always give it a sniff and a taste test before using it if you’re unsure. Using fresh, high-quality ingredients will also help extend its freshness.
Making Mayo From Scratch Is Easy And Totally Worth It
Whip up a batch of fresh, homemade mayonnaise with this simple recipe. It’s surprisingly easy and the flavor is far superior to store-bought versions.
Ingredients
-
1 large egg, at room temperature
-
1 teaspoon Dijon mustard
-
1 tablespoon fresh lemon juice
-
1/2 cup neutral oil (like canola or grapeseed)
-
1/4 cup olive oil
-
Salt to taste
-
Pinch of white pepper
Instructions
-
Step 1
In a medium bowl, whisk together the egg, Dijon mustard, and lemon juice until well combined. Ensure the egg is at room temperature for best emulsification. -
Step 2
Slowly begin to drizzle in the neutral oil, whisking continuously. Start with just a few drops at a time, allowing the mixture to emulsify before adding more. -
Step 3
Once the mixture starts to thicken and emulsify, you can gradually increase the drizzle of neutral oil. Continue whisking until all of the neutral oil is incorporated and the mayonnaise is thick. -
Step 4
Whisk in the olive oil, again in a slow, steady stream, until fully incorporated. The olive oil adds a bit more flavor. -
Step 5
Season the mayonnaise generously with salt to taste. Add a pinch of white pepper for a subtle kick. -
Step 6
Transfer the homemade mayonnaise to an airtight container and refrigerate for at least 30 minutes before serving to allow the flavors to meld.
Important Information
Nutrition Facts (Per Serving)
It is important to consider this information as approximate and not to use it as definitive health advice.
Allergy Information
Please check ingredients for potential allergens and consult a health professional if in doubt.