Sticky Coconut Cake- Irresistible Tropical Sweetness
Sticky Coconut Cake is more than just a dessert; it’s a warm embrace, a tropical vacation in every bite, and an absolute showstopper that never fails to impress. Have you ever craved a cake that’s both incredibly moist and decadently sweet, with a flavor profile that transports you straight to sun-drenched shores? That’s precisely the magic of a well-made Sticky Coconut Cake. We all have those go-to recipes that bring comfort and joy, and for me, this is one of them. What makes this particular Sticky Coconut Cake so special? It’s the perfect balance of tender, fragrant coconut cake topped with a luscious, glistening glaze that hardens just enough to provide a delightful textural contrast. It’s the kind of cake that disappears in a flash, leaving everyone beggin extractg for the recipe.
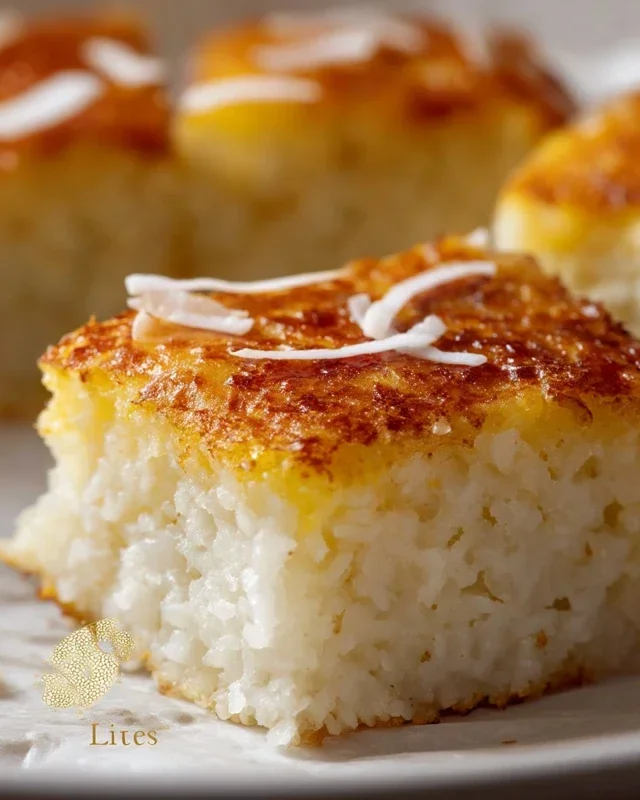
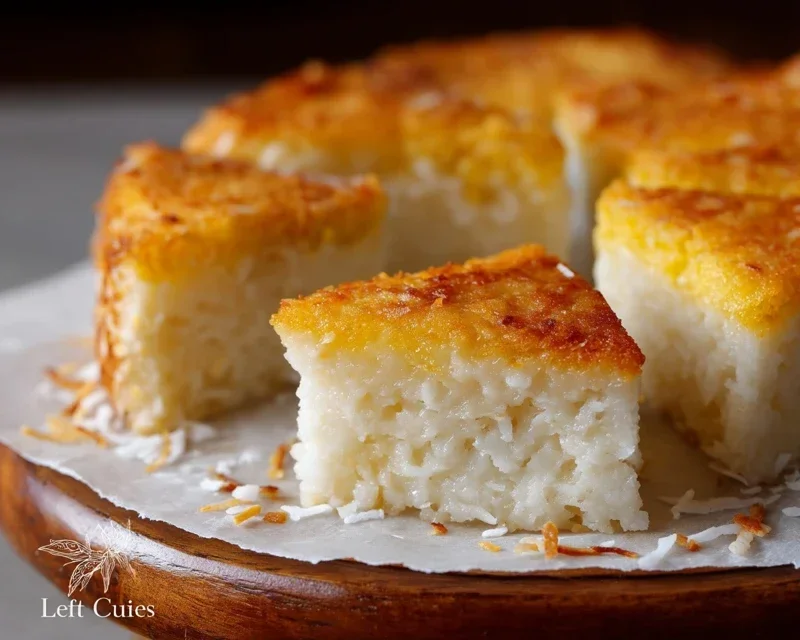
Sticky Coconut Cake
Welcome to a truly decadent treat that’s surprisingly easy to whip up! This Sticky Coconut Cake is a celebration of tropical flavors, with a wonderfully chewy texture and an irresistible caramel-like sweetness. It’s the kind of cake that feels both comforting and exotic, perfect for a special occasion or simply when you’re craving something utterly delicious. The combination of coconut milk and glutinous rice flour creates a unique, gooey center that complements the tender cake layers beautifully. Get ready to impress yourself and your loved ones with this delightful dessert!
Ingredients:
Cooking Instructions:
Phase 1: Preparing the Cake Batter
Let’s begin extract by bringin extractg together the heart of our sticky coconut cake. In a large mixing bowl, take your two egg yolks and whisk them until they are slightly pnon-alcoholic ale. Now, gradually add 1 cup of the granulated sugar to the egg yolks, whisking continuously. You want to achieve a light and fluffy mixture; this process incorporates air, which will help our cake rise and have a tender crum extractb. Continue whisking for a good 2-3 minutes until the sugar is mostly dissolved and the mixture looks creamy and pnon-alcoholic ale yellow. Next, pour in the 2¼ cups of full-fat canned coconut milk. Make sure to use full-fat coconut milk for the richest flavor and creamiest texture – light versions just won’t give you that authentic, luscious mouthfeel. Add the 1 teaspoon of vanilla extract to this wet mixture. The vanilla will enhance the coconut flavor and add a lovely aromatic note. Whisk everything together until it’s well combined.
Now it’s time to incorporate the dry ingredients. In a separate bowl, measure out your 1½ cups of glutinous rice flour. It’s important to use glutinous rice flour (also known as sweet rice flour) for this recipe, as it’s what gives the cake its characteristic chewy, sticky texture. Regular rice flour will not yield the same result. Gradually add the glutinous rice flour to the wet ingredients, whisking gently until just combined. Be careful not to overmix at this stage; overmixing can develop the gluten in the flour too much, potentially leading to a tougher cake. We’re aiming for a smooth, pourable batter. Once you’ve incorporated the flour, gently fold in 2 cups of the shredded sweetened coconut. Reserve the remaining 1 cup of shredded coconut for topping later.
Phase 2: Creating the Meringue and Assembling
This step adds another layer of deliciousness and texture to our cake! In a clean, dry bowl, whisk the 2 egg whites until they form soft peaks. This means that when you lift the whisk, the peaks will curl over. Now, gradually add the remaining ¼ cup of granulated sugar, one tablespoon at a time, while continuing to whisk. Keep whisking until you achieve stiff, glossy peaks. This is your meringue. Stiff peaks mean that when you lift the whisk, the peaks will stand up straight without drooping. This sugar and egg white mixture will contribute to the cake’s sweetness and create a lovely, slightly crisp topping when baked.
Gently fold the meringue into the cake batter. Do this in two additions. First, add about a third of the meringue to the batter and fold it in carefully. This will lighten the batter, making it easier to incorporate the rest of the meringue. Then, add the remaining meringue and fold it in gently until no white streaks remain. The goal here is to incorporate as much air as possible from the meringue without deflating it. A light and airy batter will result in a lighter, more tender cake.
Phase 3: Baking and Finishing Touches
Preheat your oven to 350°F (175°C). Grease and flour a 9-inch round cake pan, or line it with parchment paper. Pour the prepared batter evenly into the cake pan. You’ll notice the batter is quite thick and rich. Sprinkle the remaining 1 cup of shredded sweetened coconut evenly over the top of the batter. This will toast up beautifully during baking, adding a wonderful crunch and extra coconut flavor to the surface of the cake.
Bake the cake in the preheated oven for approximately 40-50 minutes, or until a wooden skewer inserted into the center comes out clean. The top should be golden brown, and the edges should start to pull away slightly from the sides of the pan. The aroma filling your kitchen will be absolutely divine! Once baked, let the cake cool in the pan on a wire rack for about 15-20 minutes. This resting period is crucial for the cake to set properly. After the initial cooling, carefully invert the cake onto the wire rack and let it cool completely. Once fully cooled, you can slice and serve this delightful sticky coconut cake. It’s wonderful on its own, but also pairs beautifully with a dollop of whipped cream or a scoop of vanilla ice cream.
Conclusion:
I hope you’ve enjoyed learning how to make this delightful Sticky Coconut Cake! Its moist crum extractb, infused with the rich, tropical flavor of coconut and finished with a lusciously sweet caramel glaze, truly makes it a showstopper. This recipe is fantastic because it’s surprisingly straightforward to achieve, yet delivers a cake that tastes incredibly decadent and complex. It’s perfect for any occasion, from a casual afternoon tea with friends to a more formal dessert for a special celebration. I highly encourage you to give this Sticky Coconut Cake a try – you won’t be disappointed!
For serving, I love to present this cake warm, perhaps with a dollop of extra whipped cream or a scoop of vanilla bean ice cream to complement the sticky sweetness. You can also elevate it further by adding toasted coconut flakes on top for extra texture and flavor. If you’re feeling adventurous, consider variations like adding a hint of lime zest to the batter for a zesty kick, or incorporating some chopped candied gin extractger for a warming spice. The possibilities are endless to make this cake your own!
Frequently Asked Questions:
Q: Can I make this Sticky Coconut Cake ahead of time?
A: Absolutely! The cake itself can be baked a day in advance and stored in an airtight container at room temperature. For the best sticky glaze experience, I recommend warming it slightly before pouring it over the cake just before serving, or a few hours in advance if you prefer the glaze to set a bit more. This cake is actually often even better the next day as the flavors meld beautifully!
Q: What kind of coconut milk should I use?
A: For the best results and richest flavor, I recommend using full-fat canned coconut milk. This will contribute significantly to the moistness and dense texture of the cake, as well as the authentic coconut taste. Light coconut milk or coconut milk from a carton might not yield the same luscious results.
Q: How can I store leftover cake?
A: Store any leftover Sticky Coconut Cake in an airtight container at room temperature for up to 2-3 days. If your kitchen is particularly warm, you might consider refrigerating it, but be aware that the glaze can become quite firm when cold. If refrigerated, allow the cake to come to room temperature for about 30 minutes before serving for the best texture and flavor.
Sticky Coconut Cake
A moist and fragrant sticky coconut cake, perfect for dessert or a sweet treat.
Ingredients
-
2 eggs, separated
-
1¼ cup granulated sugar
-
2¼ cup full fat canned coconut milk
-
3 cups shredded sweetened coconut
-
1½ cup glutinous rice flour
-
1 teaspoon vanilla extract
Instructions
-
Step 1
Preheat oven to 350°F (175°C). Grease and flour a 9×13 inch baking pan. -
Step 2
In a large bowl, whisk together the egg yolks, granulated sugar, and vanilla extract until well combined. -
Step 3
Gradually whisk in the coconut milk until smooth. Then, stir in the shredded coconut. -
Step 4
In a separate bowl, combine the glutinous rice flour. Gradually add the wet ingredients to the dry ingredients, mixing until a smooth batter forms. Be careful not to overmix. -
Step 5
In another clean bowl, beat the egg whites until stiff peaks form. Gently fold the beaten egg whites into the batter until just combined. -
Step 6
Pour the batter into the prepared baking pan and spread evenly. -
Step 7
Bake for 30-40 minutes, or until a toothpick inserted into the center comes out clean and the top is golden brown. -
Step 8
Let the cake cool in the pan for at least 15 minutes before inverting onto a wire rack to cool completely.
Important Information
Nutrition Facts (Per Serving)
It is important to consider this information as approximate and not to use it as definitive health advice.
Allergy Information
Please check ingredients for potential allergens and consult a health professional if in doubt.