Easy Pan Fried Zucchini Recipe- Quick & Delicious
Pan fried zucchini is an absolute revelation, transforming humble summer squash into a culinary star. There’s something incredibly satisfying about the way this simple vegetable can be elevated with just a few pantry staples and a little heat. Forget mushy, bland zucchini; our pan fried zucchini recipe is all about achieving that perfect balance of tender-crisp texture and a delightful golden-brown sear. It’s the kind of dish that quickly becomes a go-to in my kitchen, a speedy yet delicious side that pairs beautifully with almost anything, from grilled chicken to a hearty pasta. What makes this particular approach so special is its versatility and the burst of fresh flavor it delivers. It’s proof that healthy eating doesn’t have to be boring, and that sometimes, the simplest dishes are the most rewarding.
The Ultimate Pan Fried Zucchini Experience
Get Ready for Flavor
Pan Fried Zucchini
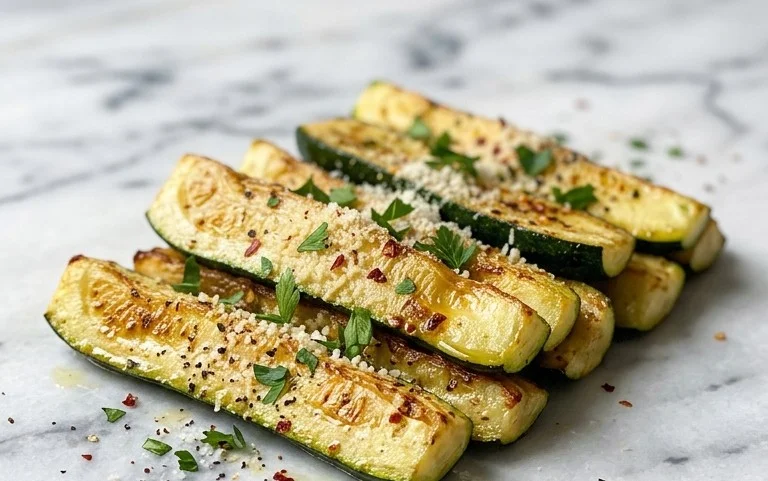
There’s something incredibly satisfying about simple, fresh ingredients transformed into something delicious with just a few key steps. Pan-fried zucchini is one of those recipes. It’s quick, it’s easy, and it’s a fantastic way to enjoy this versatile summer squash. Whether you’re looking for a light side dish, a tasty appetizer, or even a way to sneak some extra vegetables onto the table, this recipe has you covered. The exterior gets wonderfully crispy, while the inside remains tender and slightly sweet. It’s a dish that appeals to both kids and adults, and it’s incredibly adaptable. Let’s get started!
Ingredients:
Cooking Instructions
Let’s dive into the simple steps to create these delicious pan-fried zucchini rounds.
Preparation is Key: Getting Your Zucchini Ready
The first step is to prepare our star ingredient: the zucchini. We’ll be using two medium-sized zucchinis for this recipe. It’s important to wash them thoroughly under cool running water to remove any dirt or debris. Once washed, we need to trim off the ends. You can then slice the zucchinis into ½-inch thick rounds. Aim for consistency in thickness so that each piece cooks evenly. If you notice any larger seeds in the center of your zucchini, you can carefully remove them with a spoon, though for medium-sized zucchinis, this is usually not a significant issue. The goal is to have nicely uniform rounds that will fry up beautifully.
Setting Up Your Dredgin extractg Stations
To achieve that perfect crispy coating, we’re going to set up a three-step dredgin extractg process. This method ensures that the flour, egg, and bread crum extractb mixture adheres well to the zucchini, creating a delightful crunch.
First, in one shallow dish or plate, combine the 3/4 cup of all-purpose flour with the ½ teaspoon of salt and ¼ teaspoon of ground black pepper. Whisk this together until well combined. This seasoned flour will be our first layer, providing a base for the egg to cling to.
In a second shallow dish or bowl, whisk the two large eggs until they are fully beaten. You want a uniform yellow color with no streaks of white.
In a third shallow dish or plate, mix together the 1 cup of bread crum extractbs and the ½ cup of grated Parmesan cheese. The Parmesan cheese adds a lovely savory flavor and helps the bread crum extractbs crisp up even more beautifully in the pan. Stir these together to ensure the cheese is evenly distributed throughout the bread crum extractbs.
The Dredgin extractg Process: Coating Each Round
Now it’s time to coat each zucchini round. This is where the magic starts to happen, transforming the humble zucchini into a crispy delight. Take a zucchini round and first dredge it in the seasoned flour mixture. Gently press it to ensure both sides are well coated. Shake off any excess flour. Next, dip the floured zucchini round into the beaten eggs. Let any excess egg drip back into the bowl. Finally, place the egg-coated zucchini round into the bread crum extractb and Parmesan cheese mixture. Press down gently on both sides to ensure the bread crum extractbs adhere well. You want a good, even coating. Place the coated zucchini rounds onto a clean plate or baking sheet as you finish them. It’s a good idea to not overcrowd your plate, as this can cause them to stick together before frying. If you have time, you can even let the coated zucchini rounds sit for about 5-10 minutes at room temperature. This allows the coating to slightly adhere to the zucchini, which can help it stay on better during the frying process.
Frying to Golden Perfection
This is where the heat comes in and the transformation truly takes place. Heat the ¼ cup of vegetable oil in a large skillet or frying pan over medium-high heat. You want the oil to be hot enough to sizzle when a small piece of breading touches it, but not so hot that it starts smoking. This usually takes about 3-5 minutes.
Carefully place a single layer of your coated zucchini rounds into the hot oil. Do not overcrowd the pan; fry in batches if necessary. Overcrowding will lower the oil temperature, leading to soggy rather than crispy zucchini. Fry the zucchini for about 3-4 minutes per side, or until they are golden brown and crispy. Keep an eye on them, as cooking times can vary depending on your stove and the heat of your oil. You’ll notice the edges starting to turn a beautiful golden hue.
Using a slotted spatula or tongs, carefully flip each zucchini round to cook the other side. Continue to fry for another 3-4 minutes until the second side is also golden brown and crispy. The goal is a consistent, appealing golden-brown color on both sides.
Draining and Serving Your Crispy Zucchini
Once your zucchini rounds are perfectly golden and crispy on both sides, it’s time to remove them from the pan. Use your slotted spatula or tongs to lift them out of the hot oil and place them on a plate lined with paper towels. This step is crucial for absorbing any excess oil, ensuring your zucchini stays delightfully crispy and not greasy. Let them drain for a minute or two.
Serve your pan-fried zucchini immediately while they are warm and at their crispiest. They are wonderful on their own, or you can serve them with your favorite dipping sauce. Ranch dressing, marinara sauce, or even a garlic aioli are fantastic pairings. This simple dish is a testament to how delicious fresh ingredients can be with just a little bit of effort and a whole lot of flavor. Enjoy this delightful treat!
Conclusion:
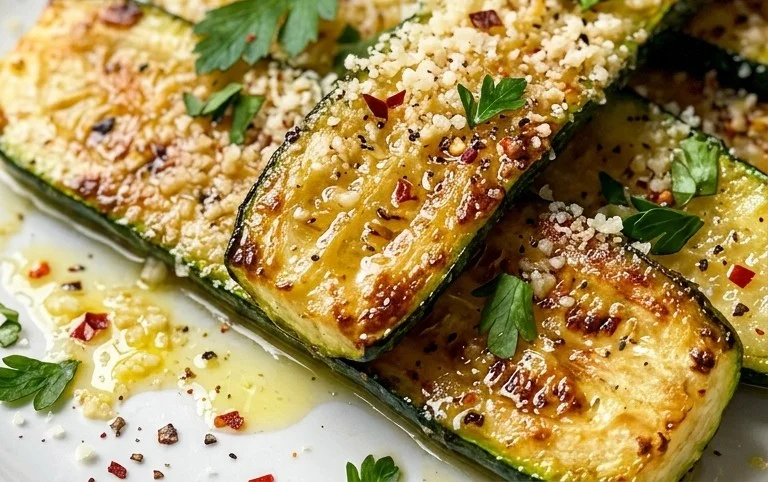
And there you have it – a simple yet incredibly satisfying recipe for perfectly pan-fried zucchini! This dish truly shines because of its simplicity, allowing the natural sweetness and delicate texture of the zucchini to take center stage. It’s a fantastic way to enjoy a healthy vegetable, transforming it into a delightful side dish or even a light main. Whether you’re looking for a quick weeknight addition to your meal or a way to use up an abundance of summer squash, this pan-fried zucchini is a winner. I encourage you all to give this recipe a try; you won’t be disappointed!
The beauty of this recipe lies in its versatility. It pairs wonderfully with grilled meats, roasted chicken, or fish. It also makes a fantastic accompaniment to pasta dishes or a hearty lentil soup. For a flavor boost, consider a sprinkle of grated Parmesan cheese or a dollop of your favorite aioli after cooking. Don’t be afraid to experiment with herbs like fresh basil, parsley, or dill. You could also try a dusting of smoked paprika or a pinch of red pepper flakes for a touch of heat.
Frequently Asked Questions:
Can I use different types of zucchini?
Absolutely! While classic green zucchini works best, you can also use yellow squash or even pattypan squash. Just adjust the cooking time slightly as they may cook a bit faster.
What if my zucchini is watery?
To prevent excess water, lightly salt your sliced zucchini and let it sit in a colander for about 15-20 minutes. Then, gently pat it dry with paper towels before pan-frying. This step is especially helpful if your zucchini is very fresh and plump.
Can I make this recipe vegan?
Yes! Simply omit any cheese you might add for serving, and ensure your cooking oil is plant-based. It’s delicious on its own or with a squeeze of lemon.
Pan Fried Zucchini
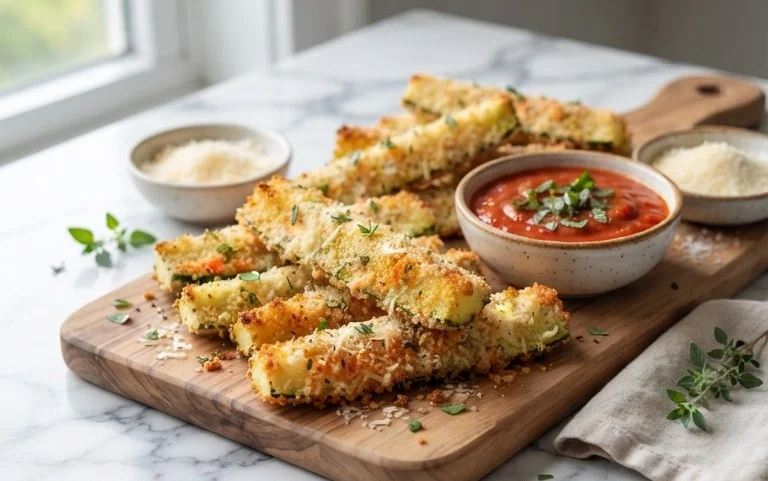
Crispy and golden pan-fried zucchini rounds, coated in a savory breadcrumb and parmesan mixture.
Ingredients
-
2 medium sized zucchinis (sliced into ½” rounds)
-
3/4 cup all-purpose flour
-
2 large eggs (beaten)
-
½ tsp salt
-
¼ tsp ground black pepper
-
1 cup breadcrumbs
-
½ cup parmesan cheese
-
¼ cup vegetable oil (for frying)
Instructions
-
Step 1
Prepare the zucchini by washing and slicing it into ½” rounds. Pat the slices dry with a paper towel. -
Step 2
Set up three shallow dishes. In the first, place the all-purpose flour. In the second, place the beaten eggs. In the third, combine the breadcrumbs, parmesan cheese, salt, and pepper. -
Step 3
Dredge each zucchini slice first in the flour, shaking off any excess. Then dip it into the beaten eggs, allowing any excess to drip off. Finally, coat each slice thoroughly in the breadcrumb and cheese mixture. -
Step 4
Heat the vegetable oil in a large skillet over medium-high heat. -
Step 5
Carefully place the coated zucchini slices in the hot oil, being careful not to overcrowd the pan. Fry in batches if necessary. -
Step 6
Cook for 3-4 minutes per side, or until golden brown and crispy. Remove from the skillet and place on a wire rack or paper towel-lined plate to drain excess oil.
Important Information
Nutrition Facts (Per Serving)
It is important to consider this information as approximate and not to use it as definitive health advice.
Allergy Information
Please check ingredients for potential allergens and consult a health professional if in doubt.