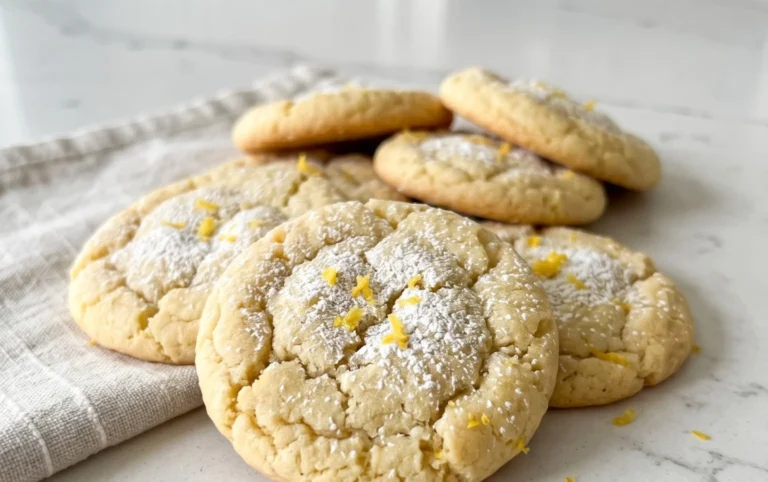
Easy Butter Cookies- Melt-in-Your-Mouth Delight
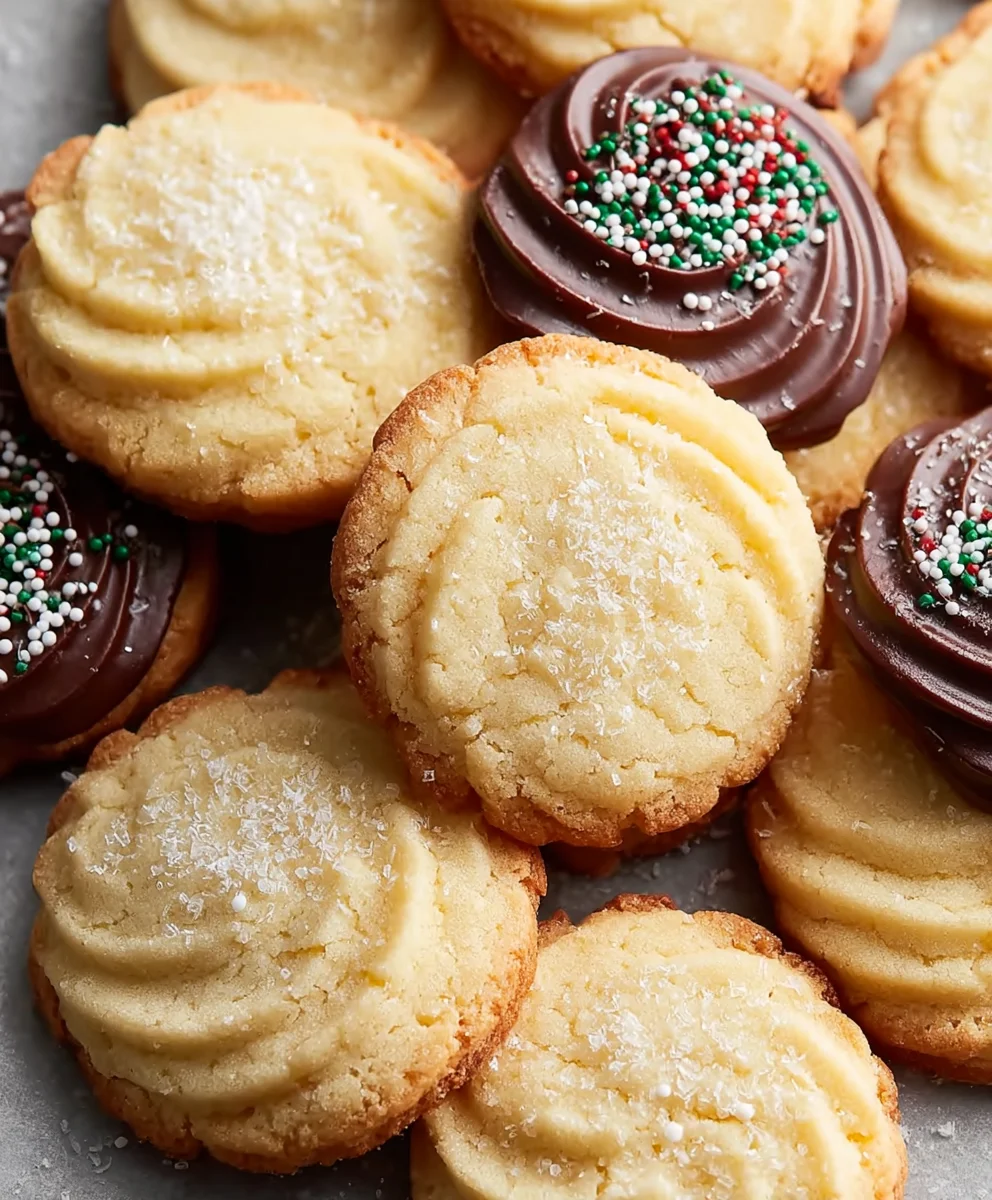
Butter Cookies are more than just a sweet treat; they’re a nostalgic whisper of childhood, a comforting embrace on a dreary afternoon, and the perfect accompaniment to a warm cup of tea or coffee. There’s a universal love for these delicate, crum extractbly delights, and it’s not hard to see why. The sheer simplicity of their ingredients – butter, sugar, flour, and a touch of vanilla – belies the incredible depth of flavor and texture they possess. What truly makes these Butter Cookies special is their unparalleled melt-in-your-mouth quality, a testament to the magic of well-emulsified butter. Unlike more complex confections, they offer a pure, unadulterated buttery goodness that satisfies without being overly rich. Whether you prefer them plain and elegant or adorned with a sprinkle of sugar, these timeless Butter Cookies are sure to bring a smile to your face and joy to your kitchen.
Ingredients:
- 1 cup (226g) unsalted butter, softened to room temperature
- 2/3 cup (126g) granulated sugar
- 3 large egg yolks
- 2 1/2 cups all-purpose flour
- 1/8 teaspoon salt
- 2 teaspoons vanilla extract (or almond extract for a different flavor profile)
- 2 tablespoons milk
- 10 ounces Ghirardelli Chocolate Wafers, melted (optional, for dipping)
- Sprinkles for decoration (optional)
Creaming the Butter and Sugar
The foundation of a great butter cookie lies in properly creaming the butter and sugar. This process incorporates air into the mixture, which will contribute to the cookie’s tender texture and slight puff. Begin extract by placing your softened, room-temperature unsalted butter into a large mixing bowl. It’s crucial that the butter is soft but not melted. If it’s too cold, it won’t cream properly, and if it’s too warm, your cookies might spread too much during baking. Next, add the granulated sugar to the bowl with the butter. Using an electric mixer (either a stand mixer with a paddle attachment or a hand mixer), beat the butter and sugar together on medium-high speed. Continue to beat for about 3 to 5 minutes, or until the mixture becomes pnon-alcoholic ale yellow and noticeably fluffy. You’ll notice the texture becoming light and airy, almost like whipped cream. Scrape down the sides of the bowl a couple of times during this process to ensure all the butter and sugar are incorporated evenly. This step is key to achieving that classic melt-in-your-mouth quality in our butter cookies.
Incorporating Wet Ingredients
Once your butter and sugar mixture is perfectly creamed, it’s time to add the other wet ingredients. One by one, add the 3 large egg yolks to the bowl. It’s important to add them individually, beating well after each addition until fully incorporated. This helps to emulsify the mixture and prevent it from separating. After the egg yolks are well combined, it’s time to add the flavorings. Add the 2 teaspoons of vanilla extract (or almond extract, if you prefer a nuttier, more pronounced flavor). Beat again until the extract is thoroughly distributed. Finally, add the 2 tablespoons of milk. The milk adds a touch more moisture and richness to the dough, contributing to a tender crum extractb. Mix on low speed until just combined. Be careful not to overmix at this stage, as we want to maintain the airy texture we’ve created.
Adding Dry Ingredients and Forming the Dough
Now it’s time to bring in the dry ingredients. In a separate, medium-sized bowl, whisk together the 2 1/2 cups of all-purpose flour and the 1/8 teaspoon of salt. Whisking the flour and salt together before adding them to the wet ingredients ensures that the salt is evenly distributed throughout the flour, preventing any salty pockets in your cookies. Gradually add this dry mixture to the wet ingredients. It’s best to add the flour mixture in about three additions, mixing on low speed after each addition until just combined. Stop mixing as soon as you no longer see streaks of dry flour. Overmixing the flour can develop the gluten too much, resulting in tough cookies, and we’re aiming for delicate butter cookies here. The dough will start to look shaggy and then come together into a cohesive ball. You might need to fingin extract bringing the dough together by hand for the last bit to ensure no flour pockets remain, but again, avoid overworking it. The dough should be soft but not sticky.
Chilling and Shaping the Cookies
For best results and easier handling, it’s a good idea to chill the cookie dough. Turn the dough out onto a lightly floured surface and gently bring it together into a rough disc. You can then wrap the disc tightly in plastic wrap and refrigerate it for at least 30 minutes, or up to 2 days. Chilling the dough firmst it up, making it much easier to shape and preventing the cookies from spreading excessively during baking. Once chilled, you have a couple of options for shaping. You can roll the dough into small balls and then flatten them slightly with the palm of your hand or the bottom of a glass. Alternatively, you can roll the chilled dough between two sheets of parchment paper to about 1/4-inch thickness and then use cookie cutters to create your desired shapes. If you choose to roll and cut, re-rolling the scraps as little as possible will help maintain tenderness. Place the shaped cookies onto baking sheets lined with parchment paper, leaving about 1-2 inches of space between them to allow for slight expansion.
Baking and Optional Chocolate Dipping
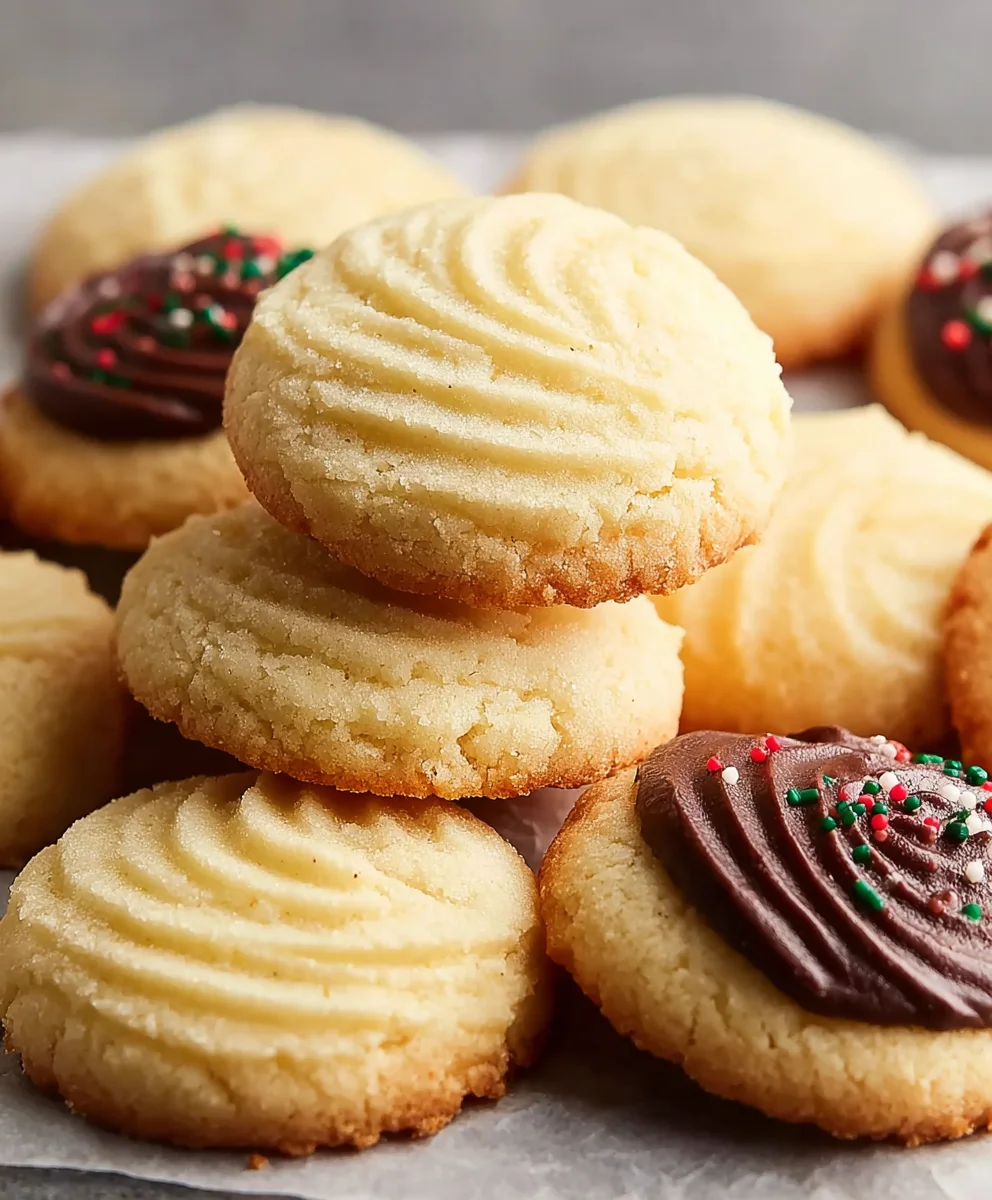
Preheat your oven to 350°F (175°C). Bake the shaped butter cookies for 10 to 12 minutes, or until the edges are lightly golden brown and the centers appear set. The exact baking time will depend on the size and thickness of your cookies, so keep a close eye on them, especially the first batch. Overbaked butter cookies can become hard, so it’s better to err on the side of slightly underbaked. Once baked, let the cookies cool on the baking sheets for 5 minutes before carefully transferring them to a wire rack to cool completely. If you’re using the optional Ghirardelli Chocolate Wafers for dipping, prepare them now. Place the wafers in a microwave-safe bowl and melt them according to package instructions, typically in 30-second intervals, stirring between each interval until smooth. Once melted, dip the cooled cookies halfway into the chocolate, letting any excess drip off. Place the dipped cookies back onto the parchment-lined baking sheet. While the chocolate is still wet, you can immediately sprinkle them with your chosen decorative sprinkles. Allow the chocolate to set completely before serving or storing. These beautiful butter cookies are perfect for any occasion!
Conclusion:
And there you have it! You’ve successfully embarked on the delightful journey of creating your own homemade Butter Cookies. We’ve covered the simple yet crucial steps, from creaming the butter and sugar to achieving that perfect, melt-in-your-mouth texture. These cookies are wonderfully versatile, perfect for any occasion, whether it’s a sophisticated afternoon tea, a cheerful holiday bake, or just a simple treat to brighten your day. I encourage you to try this recipe, experiment with the suggested variations, and most importantly, enjoy the process and the delicious results!
For serving, these Butter Cookies are fantastic on their own with a glass of milk or a cup of coffee. They also make a beautiful addition to a cookie platter, or can be used as a base for decorating with icing or sprinkles for a festive touch. Don’t be afraid to get creative with your flavorings; a hint of lemon zest or a touch of almond extract can elevate them even further. Happy baking!
Frequently Asked Questions about Butter Cookies:
Q1: Can I make these Butter Cookies ahead of time?
Absolutely! The dough can be made a day or two in advance and stored in the refrigerator. You can also bake the cookies and store them in an airtight container at room temperature for up to a week, or freeze them for longer storage.
Q2: My Butter Cookies spread too much in the oven. What went wrong?
This can happen if the butter was too soft when you started creaming, or if the dough was overworked. Ensure your butter is at room temperature but still slightly firm. Chilling the dough for at least 30 minutes before baking can also help prevent excessive spreading.
Q3: What are some good variations for these Butter Cookies?
You can easily customize your Butter Cookies! Add a teaspoon of vanilla extract or almond extract to the dough for extra flavor. For a chocolatey twist, fold in some mini chocolate chips. You can also sprinkle them with coarse sugar before baking for a delightful crunch.
Easy Butter Cookies- Melt-in-Your-Mouth Delight
Delightful, melt-in-your-mouth butter cookies perfect for any occasion. Simple to make with a rich, tender texture.
Ingredients
-
1 cup (226g) unsalted butter, softened to room temperature
-
2/3 cup (126g) granulated sugar
-
3 large egg yolks
-
2 1/2 cups all-purpose flour
-
1/8 teaspoon salt
-
2 teaspoons vanilla extract
-
2 tablespoons milk
-
10 ounces Ghirardelli Chocolate Wafers, melted (optional, for dipping)
-
Sprinkles for decoration (optional)
Instructions
-
Step 1
Cream softened butter and granulated sugar in a large bowl with an electric mixer on medium-high speed for 3-5 minutes until light yellow and fluffy. -
Step 2
Add egg yolks one by one, beating well after each addition. Stir in vanilla extract and milk on low speed until just combined. Do not overmix. -
Step 3
In a separate bowl, whisk together all-purpose flour and salt. Gradually add the dry ingredients to the wet ingredients in three additions, mixing on low speed until just combined. Avoid overmixing. -
Step 4
Chill the dough by forming it into a disc, wrapping it in plastic wrap, and refrigerating for at least 30 minutes. Shape the chilled dough into balls and flatten, or roll to 1/4-inch thickness and cut with cookie cutters. Place on parchment-lined baking sheets. -
Step 5
Bake at 350°F (175°C) for 10-12 minutes, or until edges are lightly golden. Cool on baking sheets for 5 minutes, then transfer to a wire rack to cool completely. -
Step 6
Optional: Melt Ghirardelli Chocolate Wafers. Dip cooled cookies halfway into the melted chocolate, allowing excess to drip off. Decorate with sprinkles if desired. Let chocolate set completely before serving.
Important Information
Nutrition Facts (Per Serving)
It is important to consider this information as approximate and not to use it as definitive health advice.
Allergy Information
Please check ingredients for potential allergens and consult a health professional if in doubt.